How to adjust the coaxiality between the cutting head and the light of the fiber laser cutting machine
The fiber laser cutting machine must be tested coaxially before starting up to ensure that the laser cutting machine can work normally. The coaxial test is mainly to adjust the coaxiality of the laser head nozzle outlet hole and the laser beam. It must be ensured that the nozzle outlet and the laser beam are on the same straight line.
The coaxiality of the nozzle outlet and the laser beam is one of the important factors that affect the cutting quality. If the nozzle and the laser beam are not coaxially, the effect of the cutting surface will be inconsistent. In serious cases, the laser will hit the nozzle, causing the nozzle to heat up and burn out. So, let’s talk about the coaxial test method, check whether your laser equipment through the coaxial test.
Preliminary Material Preparation
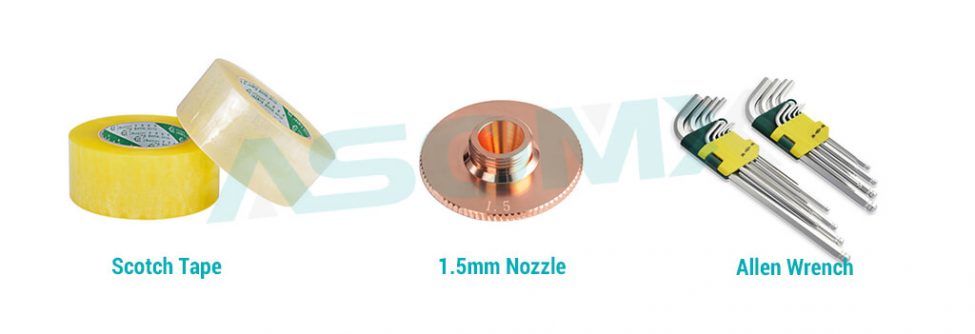
Coaxial Detection Method
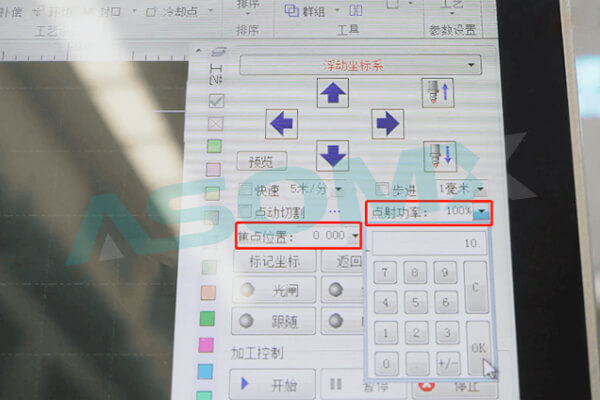
In the operating software, the focus of the laser head is restored to zero, and the laser power is changed to 10%.
Replace the nozzle with a diameter of 1.5 mm, can use a single-layer or double-layer nozzle.
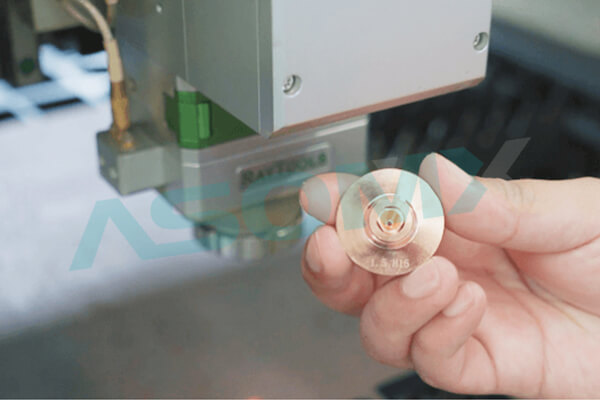
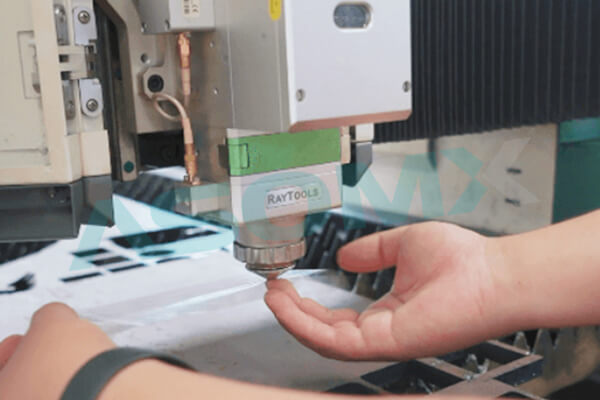
Take a clean piece of Scotch tape and tape it to the bottom of the nozzle.
Press the laser button and release it immediately.
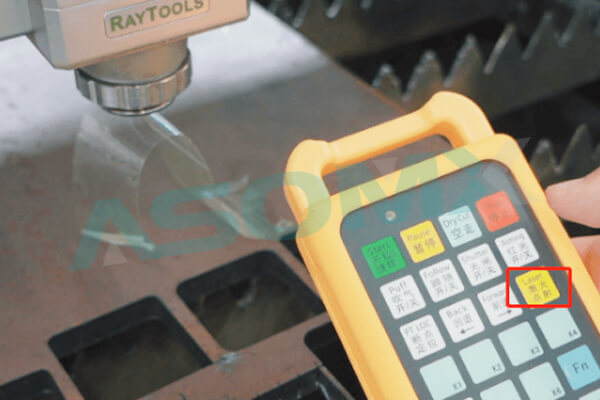
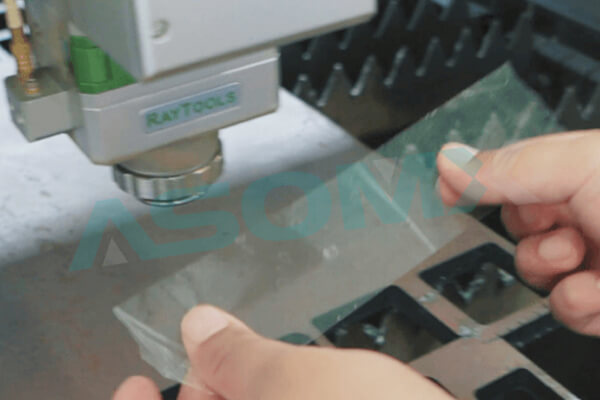
Then take off the tape, remember not to arbitrarily rotate the tape direction, and check the tape marks.
There is a circle on the embossing tape with the same diameter as the nozzle hole, and on the circle, there is a small hole that is drilled on the tape by laser.

Coaxial Adjustment Method
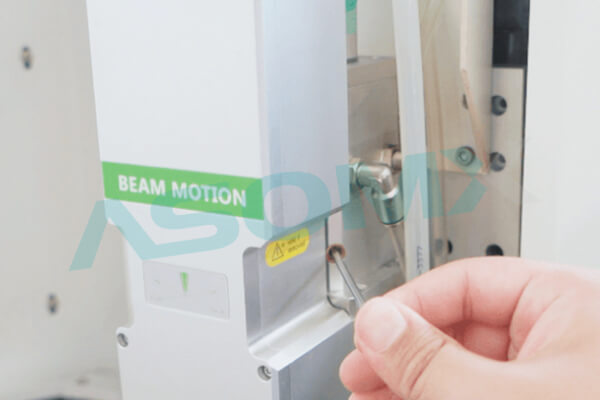
By adjusting the two screws on both sides of the laser cutting head, the laser point is adjusted to the center of the circle.
Refer to the rotation direction on the picture and adjust according to the position of the circle on the tape. Rotate the left and right screws until the spot moves to the center of the circle to adjust the spot position. This process needs to be tested and fine-tuned repeatedly.
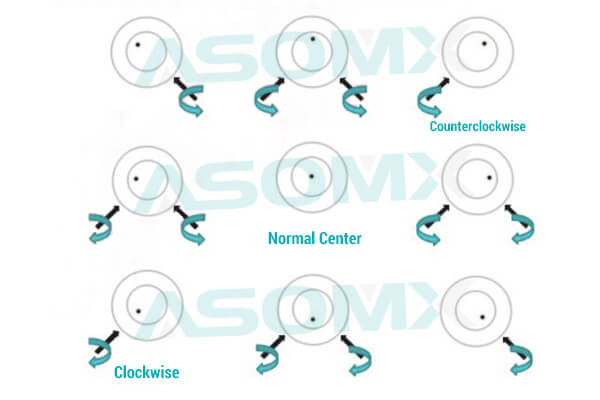
If the light spot is in the upper left corner of the circle, need to rotate the screw on the right to loosen it (counterclockwise).
If the light spot is in the upper right corner of the circle, need to turn the screw on the left to loosen it (counterclockwise).
If the light spot is directly above the circle, need to rotate the left screw to loosen (counterclockwise rotation), and the right screw to loosen (counterclockwise rotation).
If the light spot is on the left side of the circle, need to turn the left screw to tighten (clockwise rotation), and the right screw to loosen (counterclockwise rotation).
If the light spot is on the right side of the circle, need to turn the left screw to loosen (counterclockwise rotation), and the right screw to tighten (clockwise rotation).
If the light spot is directly below the circle, need to turn the left screw to tighten (clockwise rotation), and the right screw to tighten (clockwise rotation).
If the light spot is at the lower-left corner of the circle, need to turn the left screw to tighten (clockwise).
If the light spot is in the lower right corner of the circle, need to turn the screw on the right side to tighten(clockwise).
Related Models: AF-N Series · AF-S Series
Please Share This
Get A Quick Quote Today!